


As the industry is becoming more data driven, we need to look for a couple of solutions that would be able to process a large amount of data that is required. A workflow management system provides an infrastructure for the set-up, performance and monitoring of a defined sequence of tasks, arranged as a workflow application. Workflow management has become such a common need that most companies have multiple ways of creating and scheduling jobs internally. Apache Airflow is a framework for processing data in a data pipeline. Although Airflow is not a data streaming solution, it deals with the data that is quite stable or slowly changing. It acts as an orchestrator by providing a solution to keep the processes coordinated in a distributed system. Airflow is an initiative of Airbnb. It is written in Python.
Airflow makes it easy for a user to author workflows using python scripts. A Directed Acyclic Graph (DAG) of tasks defines a workflow in Apache Airflow. It contains a set of tasks which executes along with their dependencies.
For example, to build a sales dashboard for your store, you need to perform the following tasks:
- Fetch the sales records information
- Clean the data / Sort the data according to the profit margins
- Push the data to the dashboard
The dependencies of the task mentioned above is:

These tasks are performed in a specific order. For example, Task 2 (cleaning the data) won’t start if we haven’t already completed Task1 (Fetching the data).
Scheduling of tasks
Apache Airflow allows us to define a schedule interval for each DAG, which determines exactly when your pipeline is run by Airflow. This way, you can tell Airflow to execute your DAG
@hourly Every Hour 0 * * * *
@daily Every Day 0 0 * * *
@weekly Every Week 0 0 * * 0
@none None
@once Once
and so on, or even use more complicated schedule intervals based on Cron-like expressions.
Components of Apache Airflow
There are 4 main components of the airflow:
- The Airflow Scheduler: The work of an airflow scheduler is to check for the scheduling interval of a particular DAG. It then passes the DAG for execution to the workers.
- The Airflow Workers: Airflow workers are the components that picks up the tasks that are up for execution, executes them and stores their results in metastore DB.
- Metastore Database: It stores the configuration information such as connections, variables, user information, roles and policies. It also acts as a source of truth for all metadata regarding the scheduling interval for a DAG, statistics from each run and task results.
- The Airflow Webserver: It acts as a web UI for the airflow. It allows users to visualize DAG runs and results.
Installing Apache Airflow in your local desktop
Prerequisites:
Python: 3.6, 3.7, 3.8
Databases:
– PostgreSQL: 9.6, 10, 11, 12, 13
– MySQL: 5.7, 8
– SQLite: 3.15.0+
Kubernetes: 1.18.15 1.19.7 1.20.2
[Note: With respect to Python 3 support, Airflow 2.0.0 has been tested with Python 3.6, 3.7, and 3.8, but does not yet support Python 3.9.]
Step1: Export Airflow Home: Airflow will create a home folder where it stores the default configuration file (airflow.cfg) for a user to be able to change accordingly. This file consists of several configurable options such as core, logging, metrics, secrets, cli, debug, operators, smtp and many more that can be taken care of by the user either from ${AIRFLOW_HOME}/airflow.cfg or AIRFLOW UI -> Configurations. Primarily, users can set the default DAG folder, executor sequence, SMTP connections for email operators in this file.
export AIRFLOW_HOME=~/airflow
Step2. Install Airflow:
pip install apache-airflow
Step3. Initializing a database backend: Airflow is built to interact with its metadata through SqlAlchemy. By default, Airflow uses SQLite for its backend database which is not recommended for production environments and is suited for development purposes only. Users can set their backend database to MYSQL or PostgreSQL. After configuring the database and connecting to it in Airflow configuration, you should create the database schema.
airflow db init
Step4. Web Authentication: By default, Airflow requires users to specify a password before login. You can use the following CLI commands to create an account:
airflow users create \
--username admin \
--password airflow-password \
--firstname Vidushi \
--lastname Bansal \
--role Admin \
--email vidushi.bansal@knoldus.com
To deactivate the user authentication option in Airflow, the following entry in $AIRFLOW_HOME/webserver_config.py is to be made:
AUTH_ROLE_PUBLIC = 'Admin'
Step5. Starting the web server: The default port of Airflow webserver is 8080. This can be changed by the user from the AIRFLOW_HOME/airflow.cfg file.
airflow webserver --port 8080
Step6. Start the scheduler: Open a new terminal or else run webserver with “-D“ option to run it as a daemon
airflow scheduler
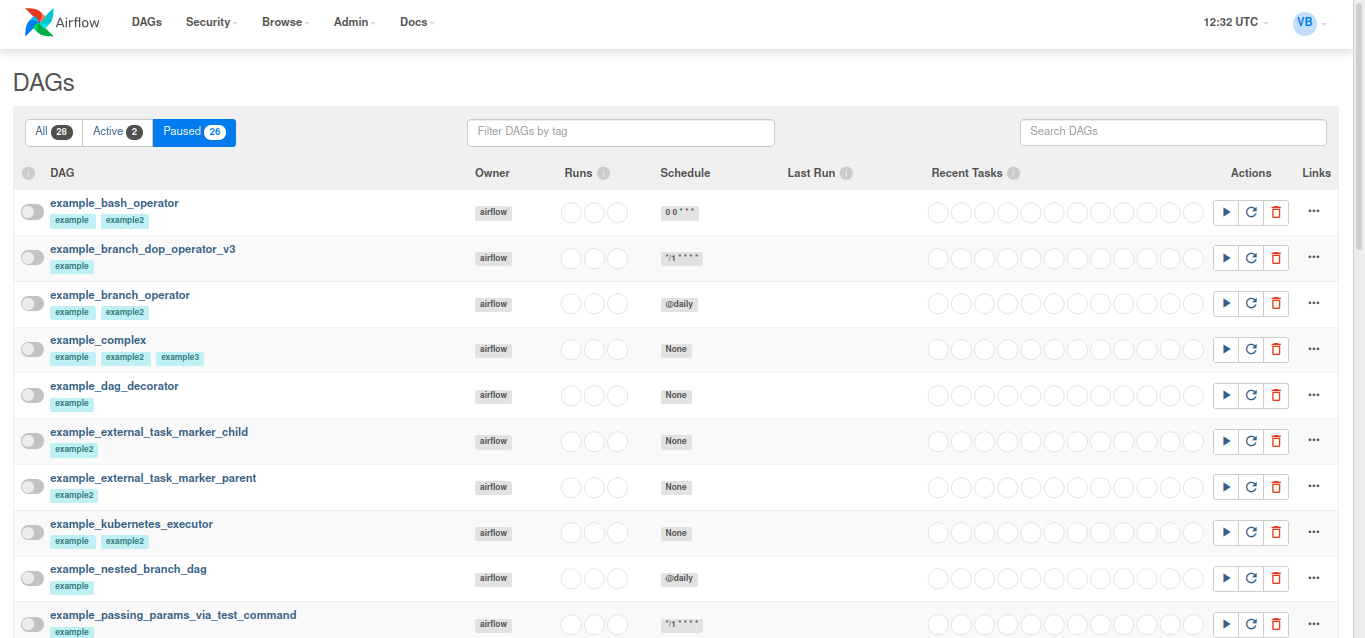
Step7. Open web UI of Airflow: Visit localhost:8080 in the browser and use the credentials to login
Related Blog: Running Apache Airflow DAG with Docker
1 thought on “Apache Airflow – A Workflow Manager4 min read”
Comments are closed.