


Hey there!
In this blog, we will discuss, how to integrate Gatling with Jenkins. Further, in the blog, we will try to configure Jenkins and run our Gatling Project with it.
Before moving forward, let us learn how Jenkins works with gatling.
How it works?
The Jenkins plugin looks into job’s workspace for any simulation report it can find, and archives only report that hasn’t been archived yet (meaning that we don’t need to clean our workspace to delete previous reports).
As long as we are able to configure a job that will launch Gatling, execute a simulation and generate a report in our job’s workspace (using the Maven plugin, SBT, a shell script or whatever), we’re good to go!
How to configure sbt?
Now all we have to do is edit the Global Tool configuration, we can do so by clicking on the Manage Jenkins > System Configurations > Global Tool Configuration. Click on Add sbt and we will be needed to name the sbt version and specify the path to the sbt launch jar as well and click on save.

And voila, sbt has been configured with Jenkins.
Integrating Gatling with Jenkins.
Just like we installed sbt plugin, we have to install Gatling plugin in the same way by clicking on the Manage Jenkins > System Configurations > Manage Plugins. After this, we search for Gatling Jenkins Plugin and we may install the Gatling plugin too.

And hence we have installed Gatling plugin with Jenkins, the only thing left is to link our Gatling script to Jenkins, for this, first of all, we have to push our project to git or any other Source Code management system, but for this demo, we may go with Git. So, let’s get going.
Configure Jenkins and Running our Gatling Project.
I hope we already know how to write a Gatling Script. Assuming that, we will move on ahead. Firstly, we have to click on “New Item” on the left side of the window and after naming it we may create a Freestyle Project.
Moving ahead, we will be directed to page which may look like this
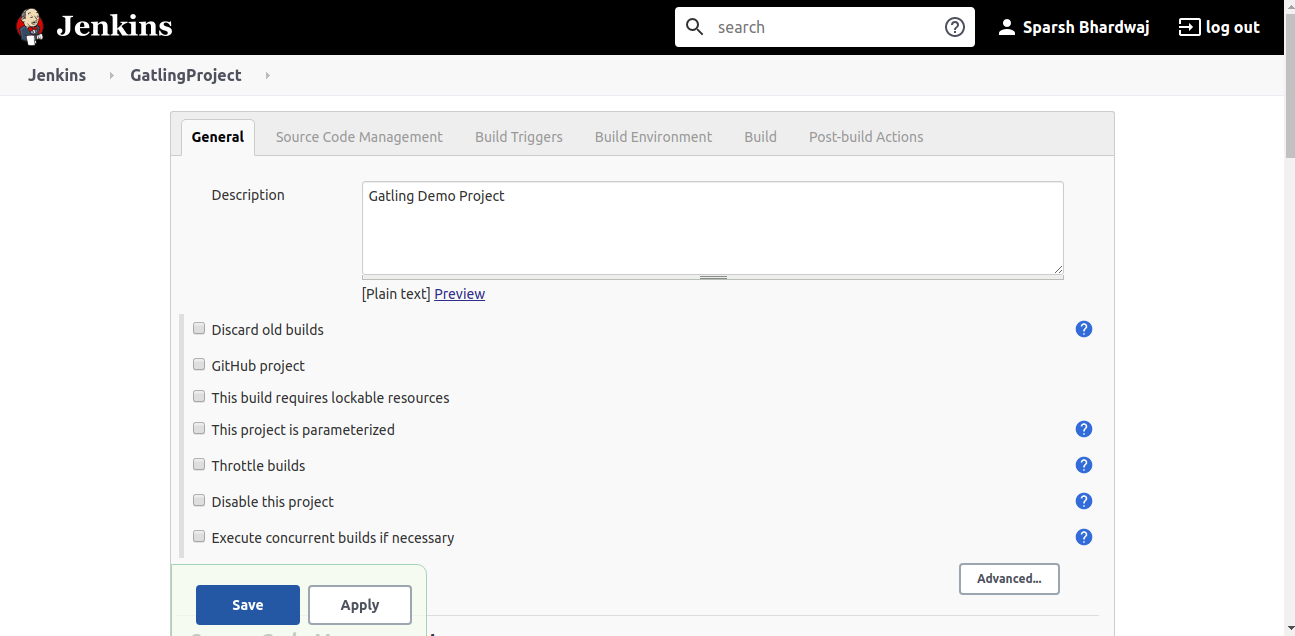
Just give a description to it and in Source Code Management section, select Git. Provide the repository link and specify the branch from which the project needs to be build.

In the Build Triggers section, select “Poll SCM” and in the schedule write “H * * * *” which signifies that the project will be built after every hour, this is not among the best practices but for the sake of demo we may continue with this.
Ignore the Build Environment part and move to the “Build” section. Click on “Add build step” and select “Build using sbt”.

Then, specify the sbt launcher and we may provide the command for running the script in “Actions”.

Now comes the most important part, if we have Gatling Jenkins plugin installed, select the “Track a Gatling Load Simulation” in the Post-build Actions. So that Gatling script may run after the project is built.
Save the changes and click on Apply. Now we have our project set up in Jenkins. Go back to the dashboard and we should be able to see the Project there, click on it and then click on “Build Now” on the left side of the window.
Finally , project will start building up and through the Console Output we may see the Gatling script running. When the building process finishes up, we should be able to see the Gatling reports.

I hope that you may have found this useful. Thanks.
Reference
https://gatling.io/docs/current/extensions/jenkins_plugin/