


Hi all,
As we all may know, CI/CD has taken a very crucial place in the software development industry. Along with our development code, it is very important to integrate our automated tests with CI/CD as well. Hence, this blog aims to throw some insights on integrating our Selenium tests with concourse ci. So, let’s get started.
What is Concourse CI?
Just like any other CI/CD platform, say, Jenkins, the concourse is is an open-source platform that runs on two main Docker containers. Once Concourse is installed, all you have to do is to use the docker-compose up command to bring up the Concourse server. Concourse uses Postgres as its database.
To learn more, you may go through the official documentation https://concourse-ci.org/docs.html.
Moving on, let’s see how can we set up a concourse pipeline locally.
Setting up Concourse.
Initially, I was under the impression that setting up a concourse pipeline will be a tricky task. However, if you know the basics of docker, it is quite easy and pretty straightforward. I’ll break the whole process into steps, so it may become easy to understand.
1. Create a docker-compose YAML file.
To create this file, we just need to run the following command through the terminal.
curl -O https://concourse-ci.org/docker-compose.ymlThe above cURL request will create a docker-compose file in your directory. Moving on, the prerequisite before moving ahead will be docker. We need to have docker installed on our machine. Assuming that we have docker installed, do a docker-compose up for the YAML file generated by the above cURL. You may do so, by using the following command.
docker-compose up -dThat’s it, you have now concourse up and running on port 8080. You can access the pipeline by opening http://localhost:8080/ on your browser.
Note:- The first time, you do a docker-compose up, it will take some time because the concourse images are quite large in size.
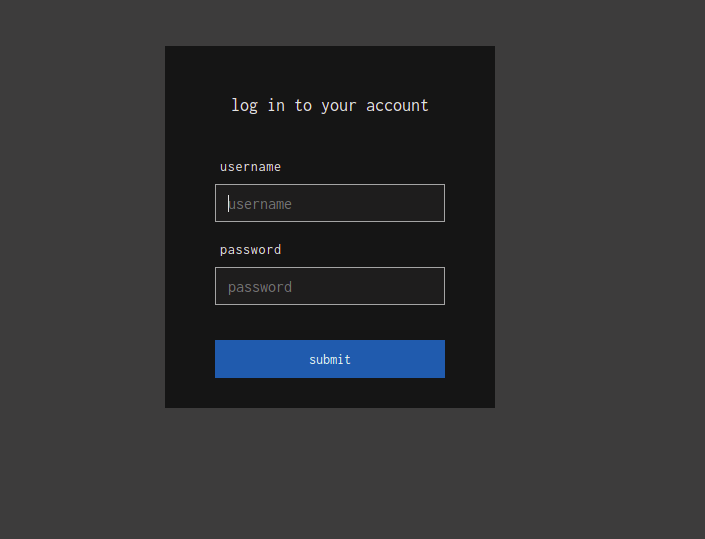
You will come across a screen that will look something like this. By default, the username and password will test and test, respectively.
2. Installing fly.
The Fly tool provides a command-line interface to Concourse. With Fly, one is able to carry out a range of tasks in a faster manner, from connecting to a shell in the build’s container to uploading a new pipeline configuration into a running Concourse. Installing fly is not a big task, we can simply install using by using the following steps.
Firstly execute the following cURL in your directory
curl 'http://localhost:8080/api/v1/cli?arch=amd64&platform=linux' -o fly \
Now execute the following command
chmod +x ./fly && mv ./fly /usr/local/bin/
fly -t tutorial login -c http://localhost:8080 -u test -p testThis will configure fly and that will it. Now, we can proceed ahead and create a pipeline.
3. Creating a pipeline.
Once you are able to access the concourse dashboard, we are good to move ahead. Till now, we have only completed 30% of the work, I would say. Now we have to accomplish a major step, i.e, to set up a pipeline. In the screenshot below, you can see that there is no pipeline

Now to set up the pipeline, firstly we have to create a YAML file. For the sake of the demo, let’s create a YAML file that will have a task to print “hello world” in the pipeline execution.
The YAML file will look something like this.
jobs:
  - name: hello-world
    plan:
      - task: say-hello
        config:
          platform: linux
          image_resource:
            type: registry-image
            source: {repository: alpine}
          run:
            path: echo
            args: ["Hello, world!"]
The name of the pipeline job will be “hello-world” and the task name which will print “Hello, world!” will be “say-hello”.
Furthermore, we need to send these pipeline jobs and configurations using fly. We can do so, by using the following command.
fly -t tutorial set-pipeline -p demo -c demoPipeline.yamlYou can replace the keyword “demoPipeline.yml” with the name of the YAML file that you may have created.
Moving on, once you have executed this command you will see a message on your terminal screen stating something like this
the pipeline is currently paused. to unpause, either:
  - run the unpause-pipeline command:
    fly -t tutorial unpause-pipeline -p demo
  - click play next to the pipeline in the web ui
On the concourse dashboard, you can see the pipeline that we have just created but the pipeline is paused currently, it won’t execute.

To unpause it, use the following command
fly -t tutorial unpause-pipeline -p demoNow, we have the pipeline ready to be executed.
4. Executing the pipeline
Executing the pipeline is quite simple. Just click on the pipeline(demo) that we have just created and it will take you to the job that we have defined in the YAML file. Now, click on the job(hello-word) and click to tigger/+ sign in the top right corner of the screen and it will execute the pipeline. And we are done, now the pipeline will work and will execute our job. Please refer to the screenshots below to understand better.

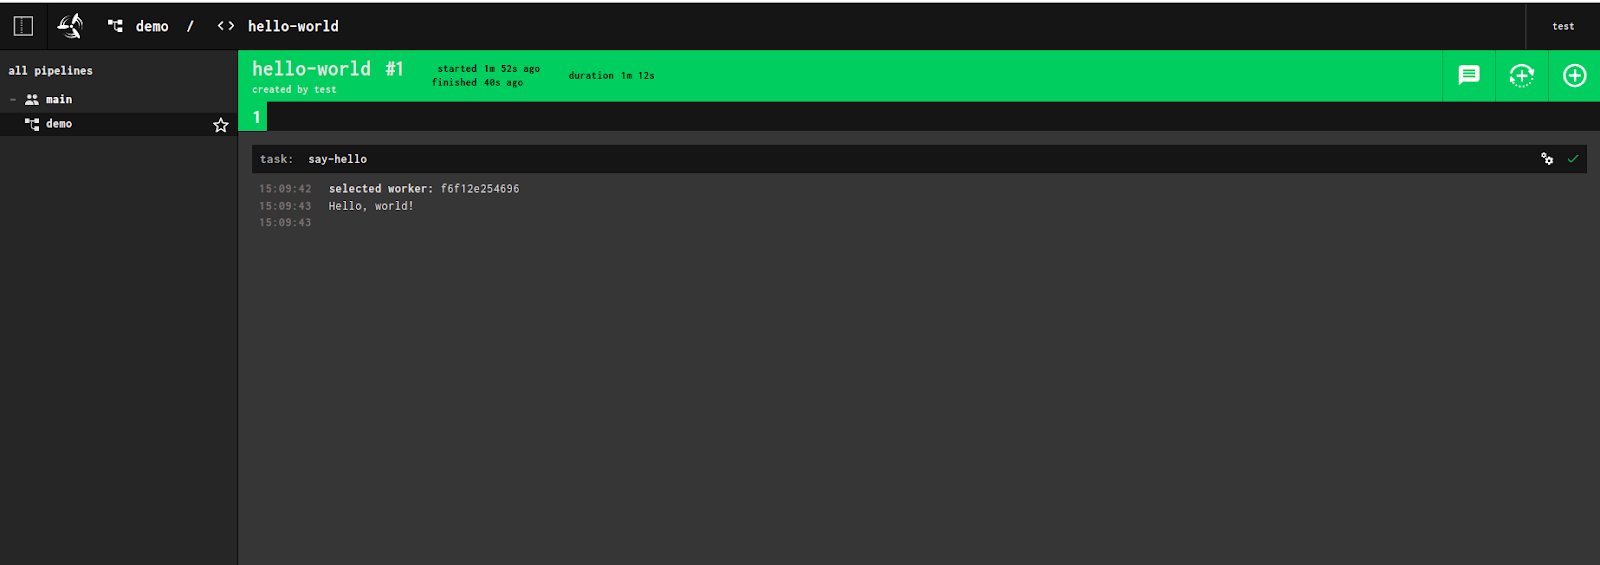
So this is done and dusted. Let’s move to the main agenda of this blog tutorial which is to integrate the selenium test with the concourse pipeline.
Integrating selenium
If you search on the web for integrating selenium with concourse, you won’t find much. So, I did things my way to accomplish this. You won’t be needing anything else other than what we have configured till now.
What I did was, I created another YAML file that will clone my git repository and this YAML file will call another YAML file that will execute a bash script which, as a result, will run our tests.
The first YAML file that will create the pipeline looks something like this.
resources:
- name: selenium
  type: git
  source:
    uri: <your git repo url goes here>
    branch: master

jobs:
- name: mavenjob
  serial: true
  plan:
  - get: selenium
    trigger: true
  - task: mvn-test
    privileged: true
    file: selenium/test.yml
I named this YAML file, pipeline.yml. Another YAML file that we’ll be needing, named test.yml, which will execute the bash script for us. It looks something like this
platform: linux

image_resource:
  type: docker-image
  source:
    repository: maven
    tag: latest

inputs:
  - name: selenium
outputs:
  - name: mvn-output

run:
  path: /bin/bash
  args:
    - selenium/test-script.sh
The test-script.sh contains only a maven command, i.e, mvn test. For your reference, it has the following content
cd selenium

echo "Starting the execution now"

mvn test
And that’s it. It should work now on the pipeline. But before that, we need to send these new configurations to the concourse via fly. We can do so by executing the following command.
fly -t tutorial set-pipeline -p demo -c pipeline.ymlNow, once you trigger the pipeline it should execute your selenium test.
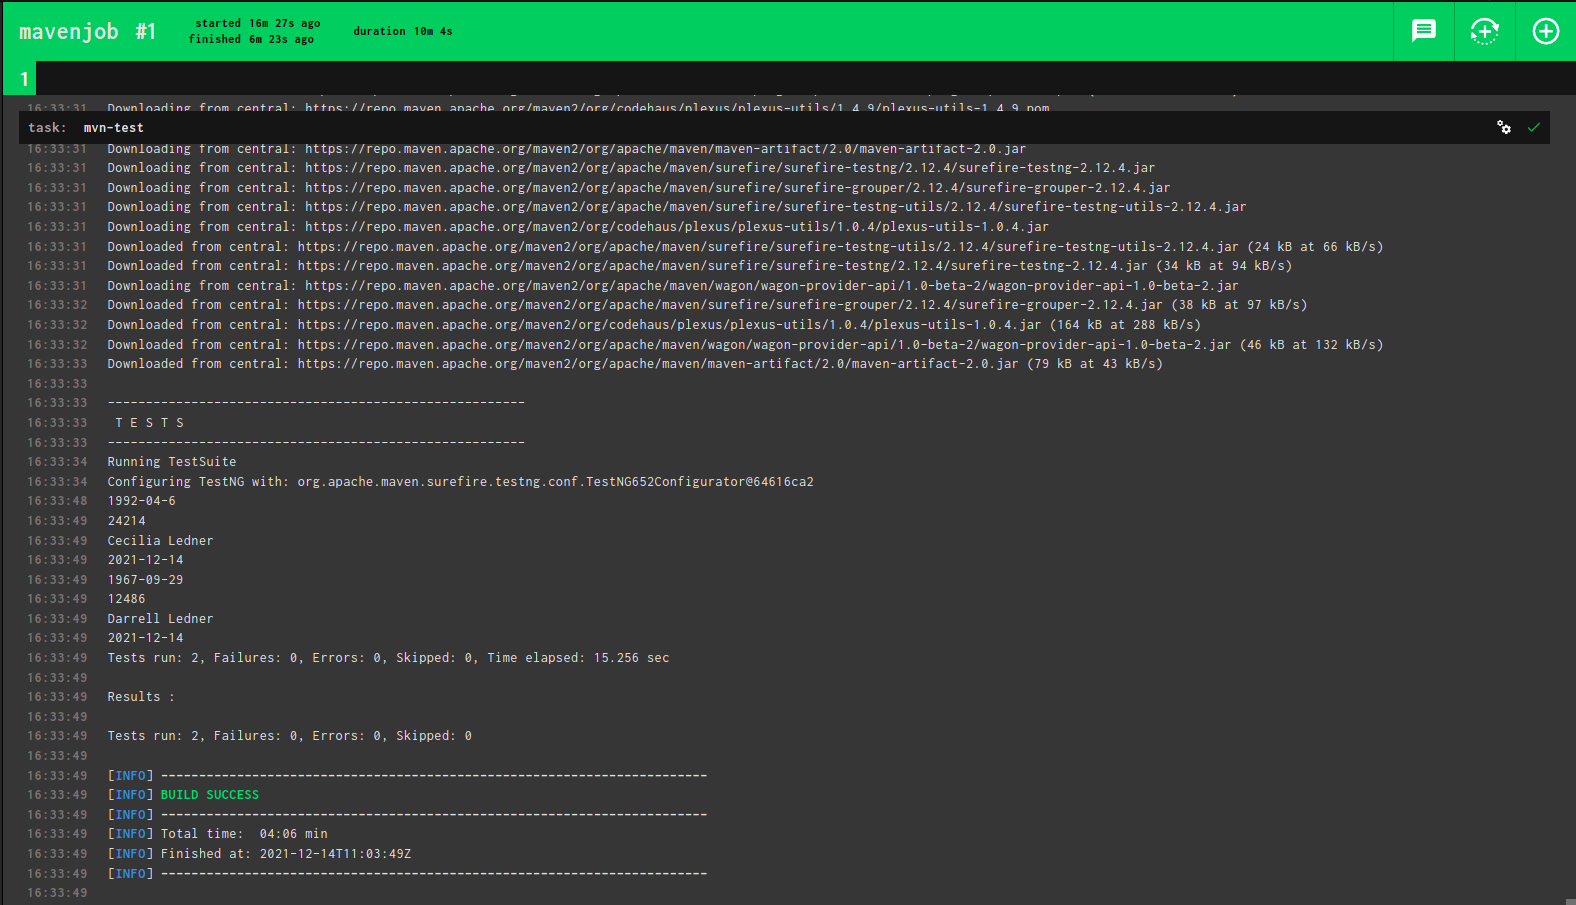
For your reference, the selenium script that I was using is given below.
public class Test {
WebDriver driver = new HtmlUnitDriver();

    @BeforeClass
    public void setUp() {
        driver.manage().window().maximize();
        driver.get("https://accounts.google.com/");
    }

    @Test(testName = "LOGIN", priority = 1, invocationCount = 2)
    public void login() {

        String URL = driver.getCurrentUrl();
        Assert.assertTrue(URL.contains("accounts.google.com"));
    }
}
Currently, I was using htmlUnitDriver only for executing the tests. In my upcoming blog, I’ll try to explain how to do this similar thing with chromeDriver and other drivers as well. Stay tuned for more.
Thanks, folks! I hope you may have found this useful.
References
https://concourse-ci.org/quick-start.html